Bootstrap & Vite
Udhëzuesi zyrtar për mënyrën se si të përfshini dhe bashkoni CSS dhe JavaScript të Bootstrap në projektin tuaj duke përdorur Vite.

Konfigurimi
Ne po ndërtojmë një projekt Vite me Bootstrap nga e para, kështu që ka disa parakushte dhe hapa të parë përpara se të fillojmë vërtet. Ky udhëzues kërkon që ju të keni të instaluar Node.js dhe njëfarë njohjeje me terminalin.
-
Krijoni një dosje projekti dhe konfiguroni npm. Ne do të krijojmë
my-projectdosjen dhe do të inicializojmë npm me-yargumentin për të shmangur që ai të na bëjë të gjitha pyetjet ndërvepruese.mkdir my-project && cd my-project npm init -y -
Instaloni Vite. Ndryshe nga udhëzuesi ynë i paketës së uebit, këtu ekziston vetëm një varësi e vetme e veglave të ndërtimit. Ne përdorim
--save-devpër të sinjalizuar se kjo varësi është vetëm për përdorim zhvillimor dhe jo për prodhim.npm i --save-dev vite -
Instaloni Bootstrap. Tani mund të instalojmë Bootstrap. Ne do të instalojmë gjithashtu Popper meqenëse pikat tona të lëshimit, popover-et dhe këshillat e veglave varen prej tij për pozicionimin e tyre. Nëse nuk planifikoni t'i përdorni ato komponentë, mund ta hiqni Popper këtu.
npm i --save bootstrap @popperjs/core -
Instaloni varësi shtesë. Përveç Vite dhe Bootstrap, ne kemi nevojë për një varësi tjetër (Sass) për të importuar dhe bashkuar siç duhet CSS-në e Bootstrap.
npm i --save-dev sass
Tani që kemi instaluar dhe konfiguruar të gjitha varësitë e nevojshme, mund të fillojmë punën për krijimin e skedarëve të projektit dhe importimin e Bootstrap.
Struktura e projektit
Ne kemi krijuar tashmë my-projectdosjen dhe kemi inicializuar npm. Tani do të krijojmë gjithashtu srcdosjen tonë, fletën e stilit dhe skedarin JavaScript për të përmbyllur strukturën e projektit. Ekzekutoni sa vijon nga my-project, ose krijoni manualisht strukturën e dosjes dhe skedarit të treguar më poshtë.
mkdir {src,src/js,src/scss}
touch src/index.html src/js/main.js src/scss/styles.scss vite.config.js
When you’re done, your complete project should look like this:
my-project/
├── src/
│   ├── js/
│   │   └── main.js
│   └── scss/
│   |   └── styles.scss
|   └── index.html
├── package-lock.json
├── package.json
└── vite.config.js
At this point, everything is in the right place, but Vite won’t work because we haven’t filled in our vite.config.js yet.
Configure Vite
With dependencies installed and our project folder ready for us to start coding, we can now configure Vite and run our project locally.
-
Open
vite.config.jsin your editor. Since it’s blank, we’ll need to add some boilerplate config to it so we can start our server. This part of the config tells Vite were to look for our project’s JavaScript and how the development server should behave (pulling from thesrcfolder with hot reload).const path = require('path') export default { root: path.resolve(__dirname, 'src'), server: { port: 8080, hot: true } } -
Next we fill in
src/index.html. This is the HTML page Vite will load in the browser to utilize the bundled CSS and JS we’ll add to it in later steps.<!doctype html> <html lang="en"> <head> <meta charset="utf-8"> <meta name="viewport" content="width=device-width, initial-scale=1"> <title>Bootstrap w/ Vite</title> </head> <body> <div class="container py-4 px-3 mx-auto"> <h1>Hello, Bootstrap and Vite!</h1> <button class="btn btn-primary">Primary button</button> </div> <script type="module" src="./js/main.js"></script> </body> </html>We’re including a little bit of Bootstrap styling here with the
div class="container"and<button>so that we see when Bootstrap’s CSS is loaded by Vite. -
Now we need an npm script to run Vite. Open
package.jsonand add thestartscript shown below (you should already have the test script). We’ll use this script to start our local Vite dev server.{ // ... "scripts": { "start": "vite", "test": "echo \"Error: no test specified\" && exit 1" }, // ... } -
And finally, we can start Vite. From the
my-projectfolder in your terminal, run that newly added npm script:npm start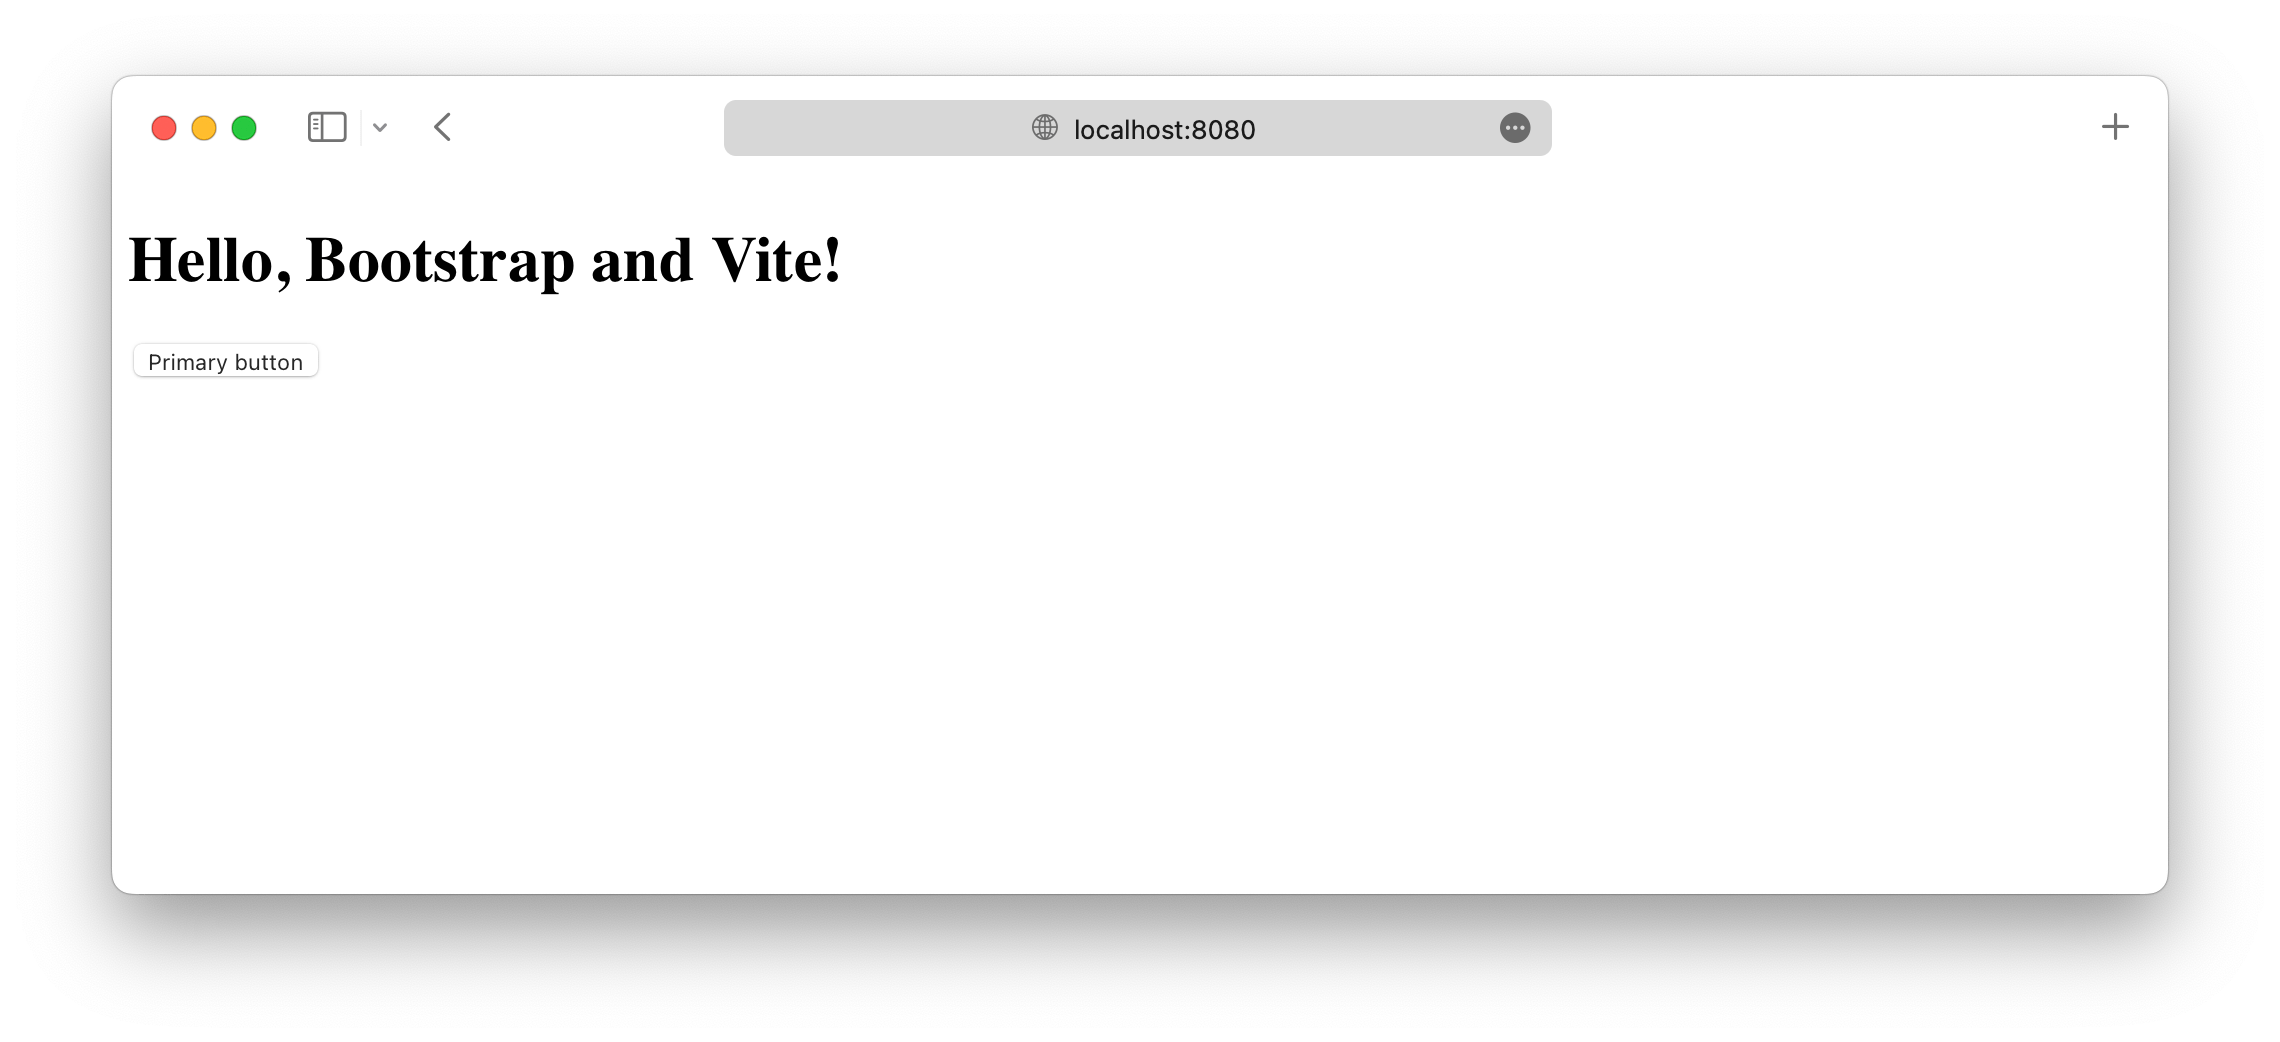
In the next and final section to this guide, we’ll import all of Bootstrap’s CSS and JavaScript.
Import Bootstrap
-
Set up Bootstrap’s Sass import in
vite.config.js. Your configuration file is now complete and should match the snippet below. The only new part here is theresolvesection—we use this to add an alias to our source files insidenode_modulesto keep imports as simple as possible.const path = require('path') export default { root: path.resolve(__dirname, 'src'), resolve: { alias: { '~bootstrap': path.resolve(__dirname, 'node_modules/bootstrap'), } }, server: { port: 8080, hot: true } } -
Now, let’s import Bootstrap’s CSS. Add the following to
src/scss/styles.scssto import all of Bootstrap’s source Sass.// Import all of Bootstrap's CSS @import "~bootstrap/scss/bootstrap";You can also import our stylesheets individually if you want. Read our Sass import docs for details.
-
Next we load the CSS and import Bootstrap’s JavaScript. Add the following to
src/js/main.jsto load the CSS and import all of Bootstrap’s JS. Popper will be imported automatically through Bootstrap.// Import our custom CSS import '../scss/styles.scss' // Import all of Bootstrap's JS import * as bootstrap from 'bootstrap'You can also import JavaScript plugins individually as needed to keep bundle sizes down:
import Alert from 'bootstrap/js/dist/alert';

// or, specify which plugins you need:
import { Tooltip, Toast, Popover } from 'bootstrap';
Read our JavaScript docs for more information on how to use Bootstrap’s plugins.
-
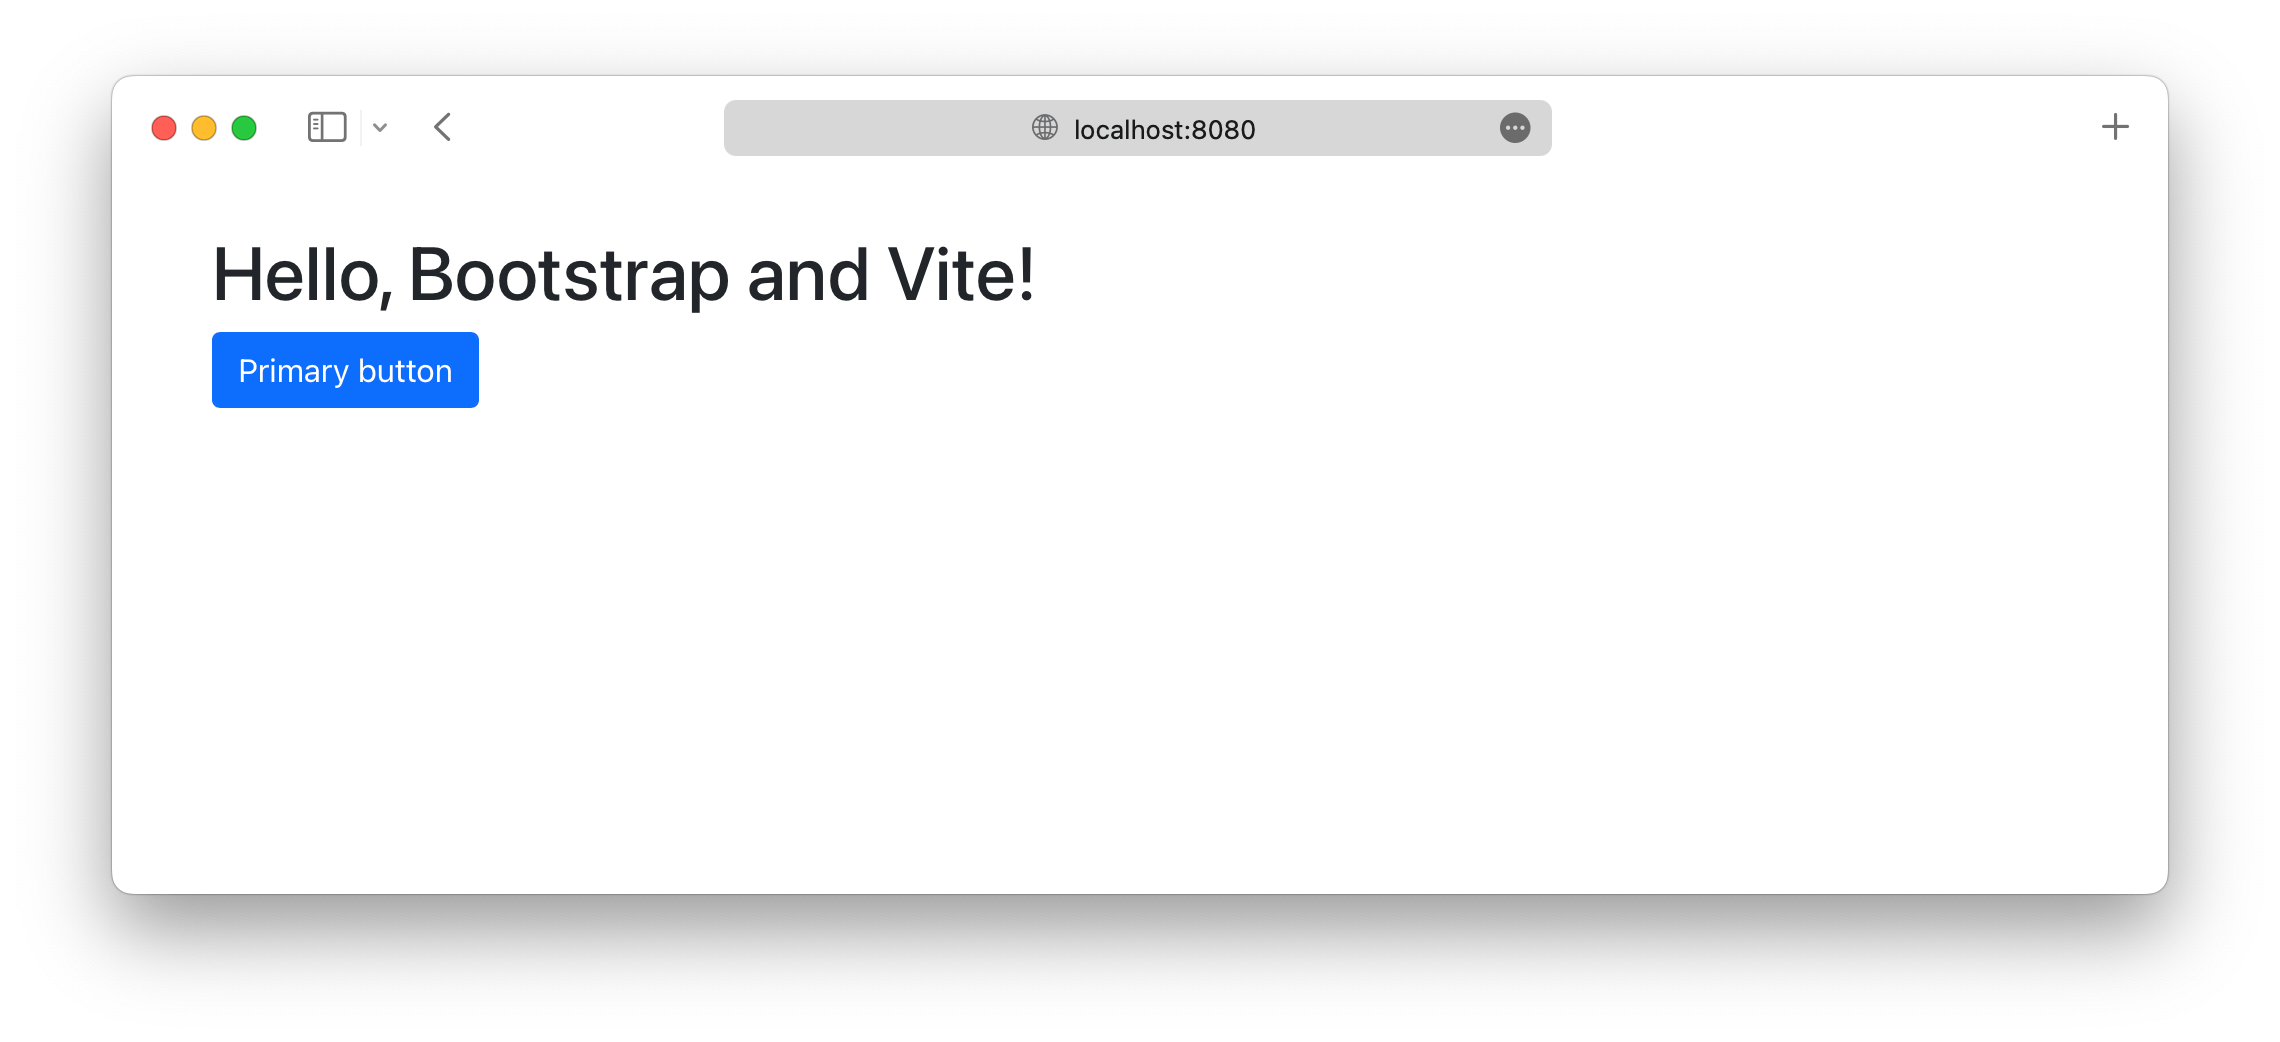
And you’re done! 🎉 With Bootstrap’s source Sass and JS fully loaded, your local development server should now look like this.
Now you can start adding any Bootstrap components you want to use. Be sure to check out the complete Vite example project for how to include additional custom Sass and optimize your build by importing only the parts of Bootstrap’s CSS and JS that you need.
See something wrong or out of date here? Please open an issue on GitHub. Need help troubleshooting? Search or start a discussion on GitHub.