ꯕꯨꯠꯁ꯭ꯠꯔꯥꯞ ꯑꯃꯁꯨꯡ ꯄꯥꯔꯁꯦꯜ꯫
ꯄꯥꯔꯁꯦꯜ ꯁꯤꯖꯤꯟꯅꯗꯨꯅꯥ ꯅꯍꯥꯛꯀꯤ ꯄ꯭ꯔꯣꯖꯦꯛꯇꯇꯥ ꯕꯨꯠꯁ꯭ꯠꯔꯥꯄꯀꯤ ꯁꯤ.ꯑꯦꯁ.ꯑꯦꯁ. ꯑꯃꯁꯨꯡ ꯖꯥꯚꯥꯁ꯭ꯛꯔꯤꯞꯇ ꯑꯁꯤ ꯀꯔꯝꯅꯥ ꯌꯥꯑꯣꯍꯅꯒꯗꯒꯦ ꯑꯃꯁꯨꯡ ꯕꯟꯗꯜ ꯇꯧꯒꯗꯒꯦ ꯍꯥꯌꯕꯒꯤ ꯑꯣꯐꯤꯁꯤꯑꯦꯜ ꯒꯥꯏꯗꯂꯥꯏꯅꯁꯤꯡ꯫

ꯁꯦꯝꯒꯡꯄ
ꯑꯩꯈꯣꯌꯅꯥ ꯕꯨꯠꯁ꯭ꯠꯔꯥꯄꯀꯥ ꯂꯣꯌꯅꯅꯥ ꯄꯥꯔꯁꯦꯜ ꯄ꯭ꯔꯣꯖꯦꯛꯇ ꯑꯃꯥ ꯃꯃꯥꯡꯗꯒꯤ ꯁꯦꯃꯒꯠꯂꯤ, ꯃꯔꯝ ꯑꯗꯨꯅꯥ ꯑꯩꯈꯣꯌꯅꯥ ꯇꯁꯦꯡꯅꯥ ꯍꯧꯗꯣꯛꯠꯔꯤꯉꯩꯒꯤ ꯃꯃꯥꯡꯗꯥ ꯃꯊꯧ ꯇꯥꯕꯥ ꯈꯔꯥ ꯑꯃꯁꯨꯡ ꯃꯃꯥꯡꯒꯤ ꯈꯣꯡꯊꯥꯡꯁꯤꯡ ꯂꯩꯔꯤ꯫ ꯒꯥꯏꯗꯂꯥꯏꯟ ꯑꯁꯤꯅꯥ ꯅꯍꯥꯀꯄꯨ Node.js ꯏꯅꯁ꯭ꯇꯣꯜ ꯇꯧꯕꯥ ꯑꯃꯁꯨꯡ ꯇꯔꯃꯤꯅꯦꯂꯒꯥ ꯃꯔꯤ ꯂꯩꯅꯕꯥ ꯈꯔꯥ ꯂꯩꯕꯥ ꯃꯊꯧ ꯇꯥꯏ꯫
-
ꯄ꯭ꯔꯣꯖꯦꯛꯇ ꯐꯣꯜꯗꯔ ꯑꯃꯥ ꯁꯦꯝꯃꯨ ꯑꯃꯁꯨꯡ npm ꯁꯦꯠ ꯇꯧ꯫ ꯑꯩꯈꯣꯌꯅꯥ
my-projectꯐꯣꯜꯗꯔ ꯑꯗꯨ ꯁꯦꯃꯒꯅꯤ ꯑꯃꯁꯨꯡ-yꯃꯁꯤꯅꯥ ꯑꯩꯈꯣꯌꯗꯥ ꯏꯟꯇꯔꯦꯛꯇꯤꯕ ꯋꯥꯍꯪ ꯄꯨꯝꯅꯃꯛ ꯍꯪꯗꯅꯕꯥ ꯑꯥꯔꯒꯨꯃꯦꯟꯇ ꯑꯗꯨꯒꯥ ꯂꯣꯌꯅꯅꯥ npm ꯏꯅꯤꯁꯤꯑꯦꯂꯥꯏꯖ ꯇꯧꯒꯅꯤ꯫mkdir my-project && cd my-project npm init -y -
ꯄꯥꯔꯁꯦꯜ ꯏꯅꯁ꯭ꯇꯣꯜ ꯇꯧꯕꯥ꯫ ꯑꯩꯈꯣꯌꯒꯤ ꯋꯦꯕꯄꯦꯛ ꯒꯥꯏꯗꯂꯥꯏꯅꯁꯤꯡꯒꯥ ꯃꯥꯟꯅꯗꯅꯥ, ꯃꯐꯝ ꯑꯁꯤꯗꯥ ꯕꯤꯜꯗ ꯇꯨꯜ ꯑꯃꯈꯛꯇꯃꯛ ꯗꯤꯄꯦꯟꯗꯦꯟꯁ ꯂꯩ꯫ ꯄꯥꯔꯁꯦꯂꯅꯥ ꯃꯈꯣꯌꯕꯨ ꯈꯉꯗꯣꯀꯄꯥ ꯃꯇꯃꯗꯥ ꯂꯣꯜ ꯇ꯭ꯔꯥꯟꯁꯐꯣꯔꯃꯔꯁꯤꯡ (ꯁꯥꯁꯒꯨꯝꯕꯥ) ꯃꯁꯥ ꯃꯊꯟꯇꯥ ꯏꯅꯁ꯭ꯇꯣꯜ ꯇꯧꯒꯅꯤ꯫ ꯑꯩꯈꯣꯌꯅꯥ
--save-devꯁꯤꯒꯅꯦꯜ ꯄꯤꯔꯤ ꯃꯗꯨꯗꯤ ꯃꯁꯤꯒꯤ ꯗꯤꯄꯦꯟꯗꯦꯟꯁ ꯑꯁꯤ ꯗꯤꯕꯦꯂꯄꯃꯦꯟꯇ ꯁꯤꯖꯤꯟꯅꯕꯒꯤꯗꯃꯛꯇꯗꯤ ꯈꯛꯇꯅꯤ ꯑꯃꯁꯨꯡ ꯄꯨꯊꯣꯀꯄꯒꯤꯗꯃꯛꯇꯅꯤ꯫npm i --save-dev parcel -
ꯕꯨꯇꯁ꯭ꯠꯔꯥꯞ ꯏꯅꯁ꯭ꯇꯣꯜ ꯇꯧ꯫ ꯍꯧꯖꯤꯛ ꯑꯩꯈꯣꯌꯅꯥ ꯕꯨꯠꯁ꯭ꯠꯔꯥꯞ ꯏꯅꯁ꯭ꯇꯣꯜ ꯇꯧꯕꯥ ꯌꯥꯔꯦ꯫ ꯑꯩꯈꯣꯌꯒꯤ ꯗ꯭ꯔꯣꯄꯗꯥꯎꯅꯁꯤꯡ, ꯄꯣꯄꯣꯚꯔꯁꯤꯡ, ꯑꯃꯁꯨꯡ ꯇꯨꯂꯇꯤꯄꯁꯤꯡ ꯑꯁꯤ ꯃꯈꯣꯌꯒꯤ ꯄꯣꯖꯤꯁꯅꯒꯤꯗꯃꯛꯇꯥ ꯃꯁꯤꯗꯥ ꯌꯨꯝꯐꯝ ꯑꯣꯏꯕꯅꯥ ꯑꯩꯈꯣꯌꯅꯥ ꯄꯣꯄꯔꯁꯨ ꯏꯅꯁ꯭ꯇꯣꯜ ꯇꯧꯒꯅꯤ꯫ ꯀꯔꯤꯒꯨꯝꯕꯥ ꯅꯍꯥꯛꯅꯥ ꯀꯝꯄꯣꯅꯦꯟꯇꯁꯤꯡ ꯑꯗꯨ ꯁꯤꯖꯤꯟꯅꯅꯕꯥ ꯊꯧꯔꯥꯡ ꯇꯧꯗ꯭ꯔꯕꯗꯤ, ꯅꯍꯥꯛꯅꯥ ꯃꯐꯃꯁꯤꯗꯥ ꯄꯣꯄꯔ ꯑꯁꯤ ꯂꯧꯊꯣꯀꯄꯥ ꯌꯥꯏ꯫
npm i --save bootstrap @popperjs/core
ꯍꯧꯖꯤꯛꯇꯤ ꯑꯩꯈꯣꯌꯅꯥ ꯃꯊꯧ ꯇꯥꯕꯥ ꯗꯤꯄꯦꯟꯗꯦꯟꯁ ꯄꯨꯝꯅꯃꯛ ꯏꯅꯁ꯭ꯇꯣꯜ ꯇꯧꯔꯦ, ꯑꯩꯈꯣꯌꯅꯥ ꯄ꯭ꯔꯣꯖꯦꯛꯇ ꯐꯥꯏꯂꯁꯤꯡ ꯁꯦꯝꯕꯥ ꯑꯃꯁꯨꯡ ꯕꯨꯠꯁ꯭ꯠꯔꯥꯞ ꯏꯝꯄꯣꯔꯠ ꯇꯧꯕꯒꯤ ꯊꯕꯛ ꯍꯧꯕꯥ ꯉꯝꯂꯦ꯫
ꯄ꯭ꯔꯣꯖꯦꯛꯇ ꯁ꯭ꯠꯔꯀꯆꯔ꯫
ꯑꯩꯈꯣꯌꯅꯥ ꯍꯥꯟꯅꯅꯥ my-projectꯐꯣꯜꯗꯔ ꯁꯦꯃꯈ꯭ꯔꯦ ꯑꯃꯁꯨꯡ npm ꯏꯅꯤꯁꯤꯑꯦꯂꯥꯏꯖ ꯇꯧꯈ꯭ꯔꯦ꯫ ꯍꯧꯖꯤꯛ ꯑꯩꯈꯣꯌꯅꯥ srcꯄ꯭ꯔꯣꯖꯦꯛꯇ ꯁ꯭ꯠꯔꯀꯆꯔ ꯑꯁꯤ ꯂꯥꯎꯊꯣꯛꯅꯕꯥ ꯑꯩꯈꯣꯌꯒꯤ ꯐꯣꯜꯗꯔ, ꯁ꯭ꯇꯥꯏꯂꯁꯤꯠ, ꯑꯃꯁꯨꯡ ꯖꯥꯚꯥꯁ꯭ꯛꯔꯤꯞꯇ ꯐꯥꯏꯂꯁꯨ ꯁꯦꯃꯒꯅꯤ꯫ ꯃꯈꯥꯗꯥ ꯄꯤꯔꯤꯕꯥ ꯑꯁꯤ ꯗꯒꯤ ꯆꯠꯂꯨ my-project, ꯅꯠꯠꯔꯒꯥ ꯃꯈꯥꯗꯥ ꯎꯠꯂꯤꯕꯥ ꯐꯣꯜꯗꯔ ꯑꯃꯁꯨꯡ ꯐꯥꯏꯜ ꯁ꯭ꯠꯔꯀꯆꯔ ꯑꯗꯨ ꯃꯦꯅꯨꯑꯦꯜ ꯑꯣꯏꯅꯥ ꯁꯦꯝꯃꯨ꯫
mkdir {src,src/js,src/scss}
touch src/index.html src/js/main.js src/scss/styles.scss
ꯅꯍꯥꯛꯅꯥ ꯇꯧꯕꯥ ꯂꯣꯌꯔꯕꯥ ꯃꯇꯨꯡꯗꯥ, ꯅꯍꯥꯛꯀꯤ ꯃꯄꯨꯡꯐꯥꯕꯥ ꯄ꯭ꯔꯣꯖꯦꯛꯇ ꯑꯗꯨ ꯃꯈꯥꯗꯥ ꯄꯤꯔꯤꯕꯁꯤꯒꯨꯝꯅꯥ ꯑꯣꯏꯒꯗꯕꯅꯤ:
my-project/
├── src/
│   ├── js/
│   │   └── main.js
│   ├── scss/
│   │   └── styles.scss
│   └── index.html
├── package-lock.json
└── package.json
ꯃꯇꯝ ꯑꯁꯤꯗꯥ, ꯄꯨꯝꯅꯃꯛ ꯑꯆꯨꯝꯕꯥ ꯃꯐꯃꯗꯥ ꯂꯩꯔꯦ, ꯑꯗꯨꯕꯨ ꯄꯥꯔꯁꯦꯂꯅꯥ ꯑꯩꯈꯣꯌꯒꯤ ꯁꯔꯚꯔ ꯍꯧꯗꯣꯛꯅꯕꯥ HTML ꯄꯦꯖ ꯑꯃꯁꯨꯡ npm ꯁ꯭ꯛꯔꯤꯞꯇ ꯑꯃꯥ ꯃꯊꯧ ꯇꯥꯏ꯫
Configure Parcel
With dependencies installed and our project folder ready for us to start coding, we can now configure Parcel and run our project locally. Parcel itself requires no configuration file by design, but we do need an npm script and an HTML file to start our server.
-
Fill in the
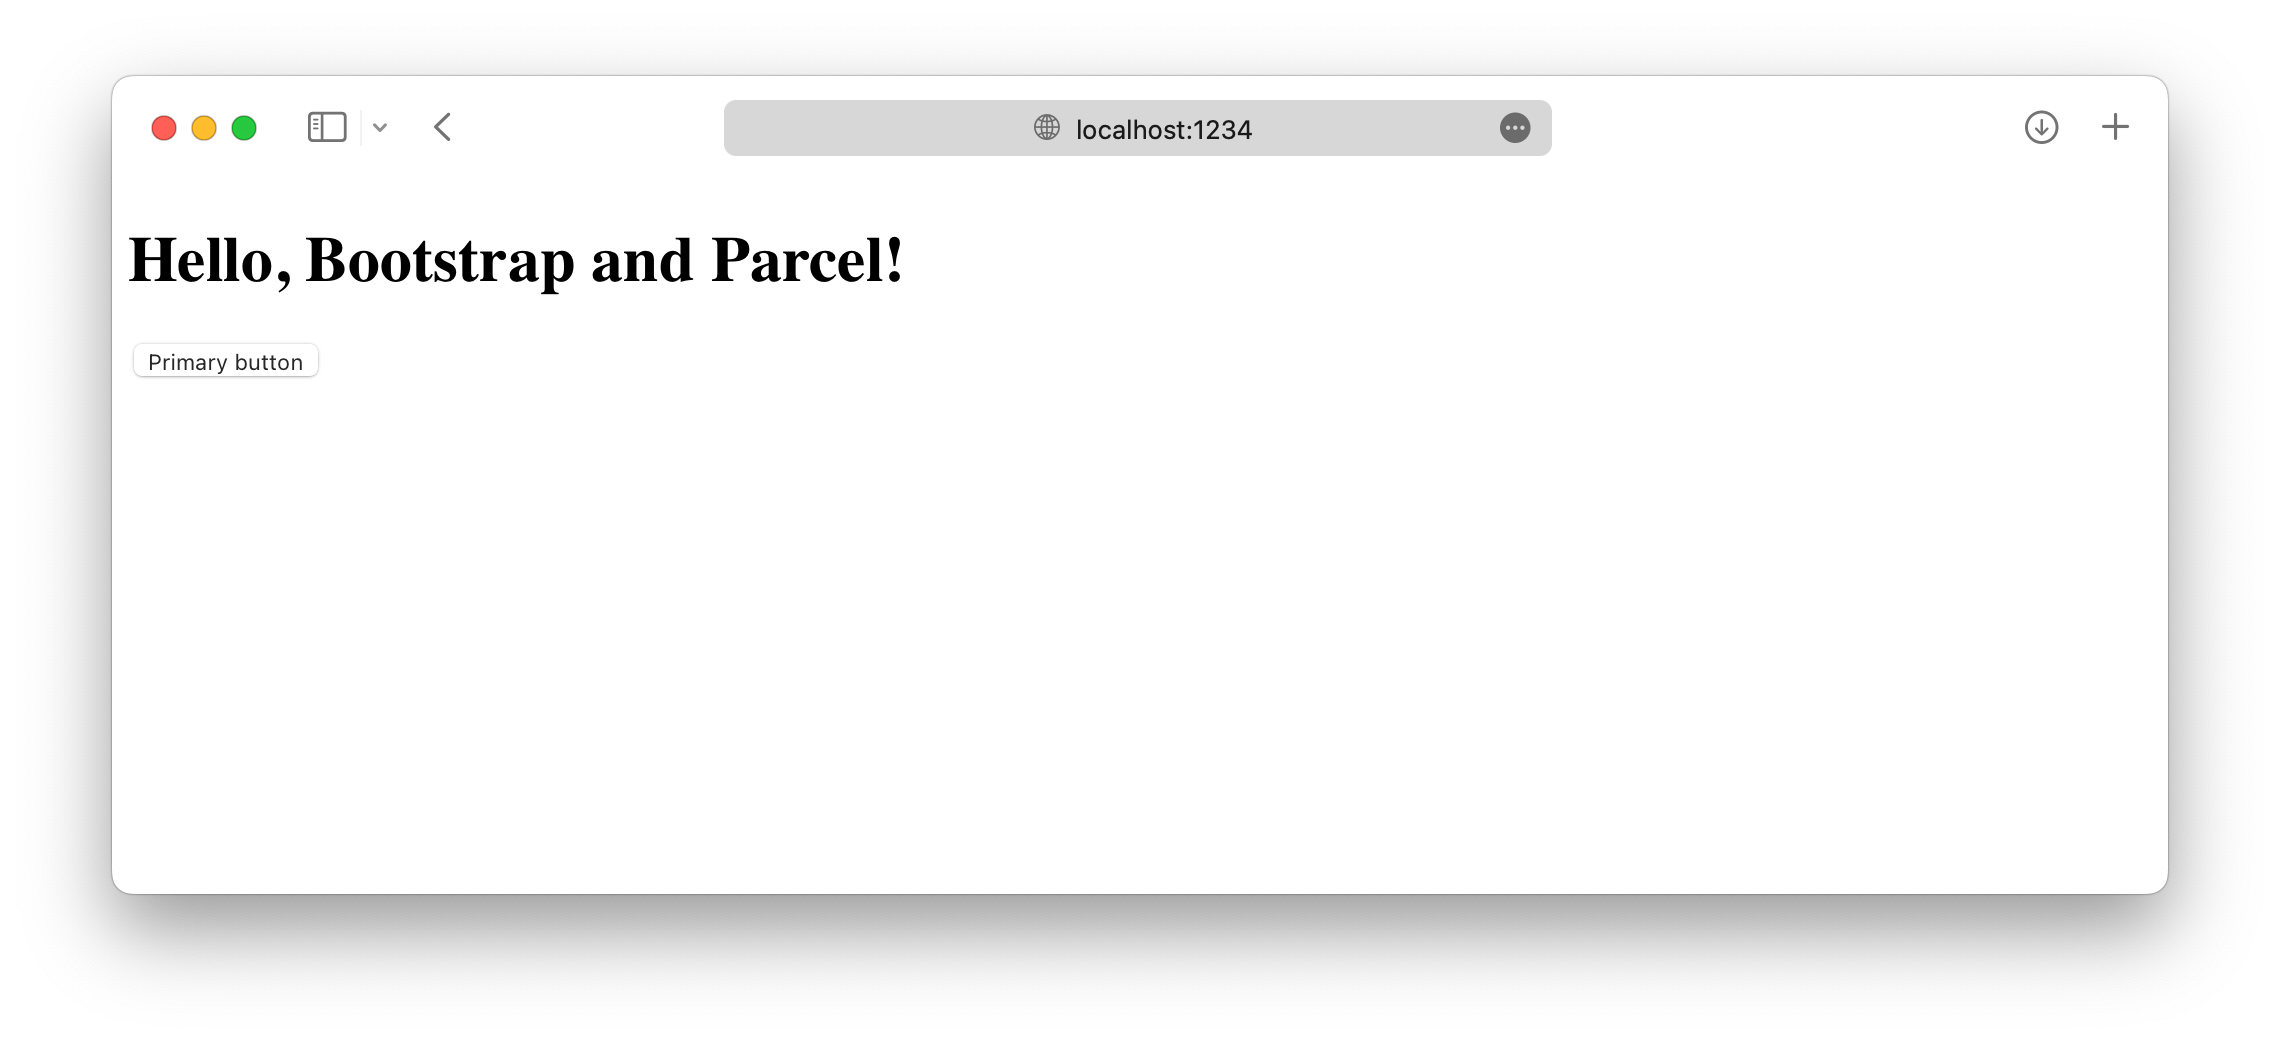
src/index.htmlfile. Parcel needs a page to render, so we use ourindex.htmlpage to set up some basic HTML, including our CSS and JavaScript files.<!doctype html> <html lang="en"> <head> <meta charset="utf-8"> <meta name="viewport" content="width=device-width, initial-scale=1"> <title>Bootstrap w/ Parcel</title> <link rel="stylesheet" href="scss/styles.scss"> <script type="module" src="js/main.js"></script> </head> <body> <div class="container py-4 px-3 mx-auto"> <h1>Hello, Bootstrap and Parcel!</h1> <button class="btn btn-primary">Primary button</button> </div> </body> </html>We’re including a little bit of Bootstrap styling here with the
div class="container"and<button>so that we see when Bootstrap’s CSS is loaded by Webpack.Parcel will automatically detect we’re using Sass and install the Sass Parcel plugin to support it. However, if you wish, you can also manually run
npm i --save-dev @parcel/transformer-sass. -
Add the Parcel npm scripts. Open the
package.jsonand add the followingstartscript to thescriptsobject. We’ll use this script to start our Parcel development server and render the HTML file we created after it’s compiled into thedistdirectory.{ // ... "scripts": { "start": "parcel serve src/index.html --public-url / --dist-dir dist", "test": "echo \"Error: no test specified\" && exit 1" }, // ... } -
And finally, we can start Parcel. From the
my-projectfolder in your terminal, run that newly added npm script:npm start
In the next and final section to this guide, we’ll import all of Bootstrap’s CSS and JavaScript.
Import Bootstrap
Importing Bootstrap into Parcel requires two imports, one into our styles.scss and one into our main.js.
-
Import Bootstrap’s CSS. Add the following to
src/scss/styles.scssto import all of Bootstrap’s source Sass.// Import all of Bootstrap's CSS @import "~bootstrap/scss/bootstrap";You can also import our stylesheets individually if you want. Read our Sass import docs for details.
-
Import Bootstrap’s JS. Add the following to
src/js/main.jsto import all of Bootstrap’s JS. Popper will be imported automatically through Bootstrap.// Import all of Bootstrap's JS import * as bootstrap from 'bootstrap'You can also import JavaScript plugins individually as needed to keep bundle sizes down:
import Alert from 'bootstrap/js/dist/alert'

// or, specify which plugins you need:
import { Tooltip, Toast, Popover } from 'bootstrap'
Read our JavaScript docs for more information on how to use Bootstrap’s plugins.
-
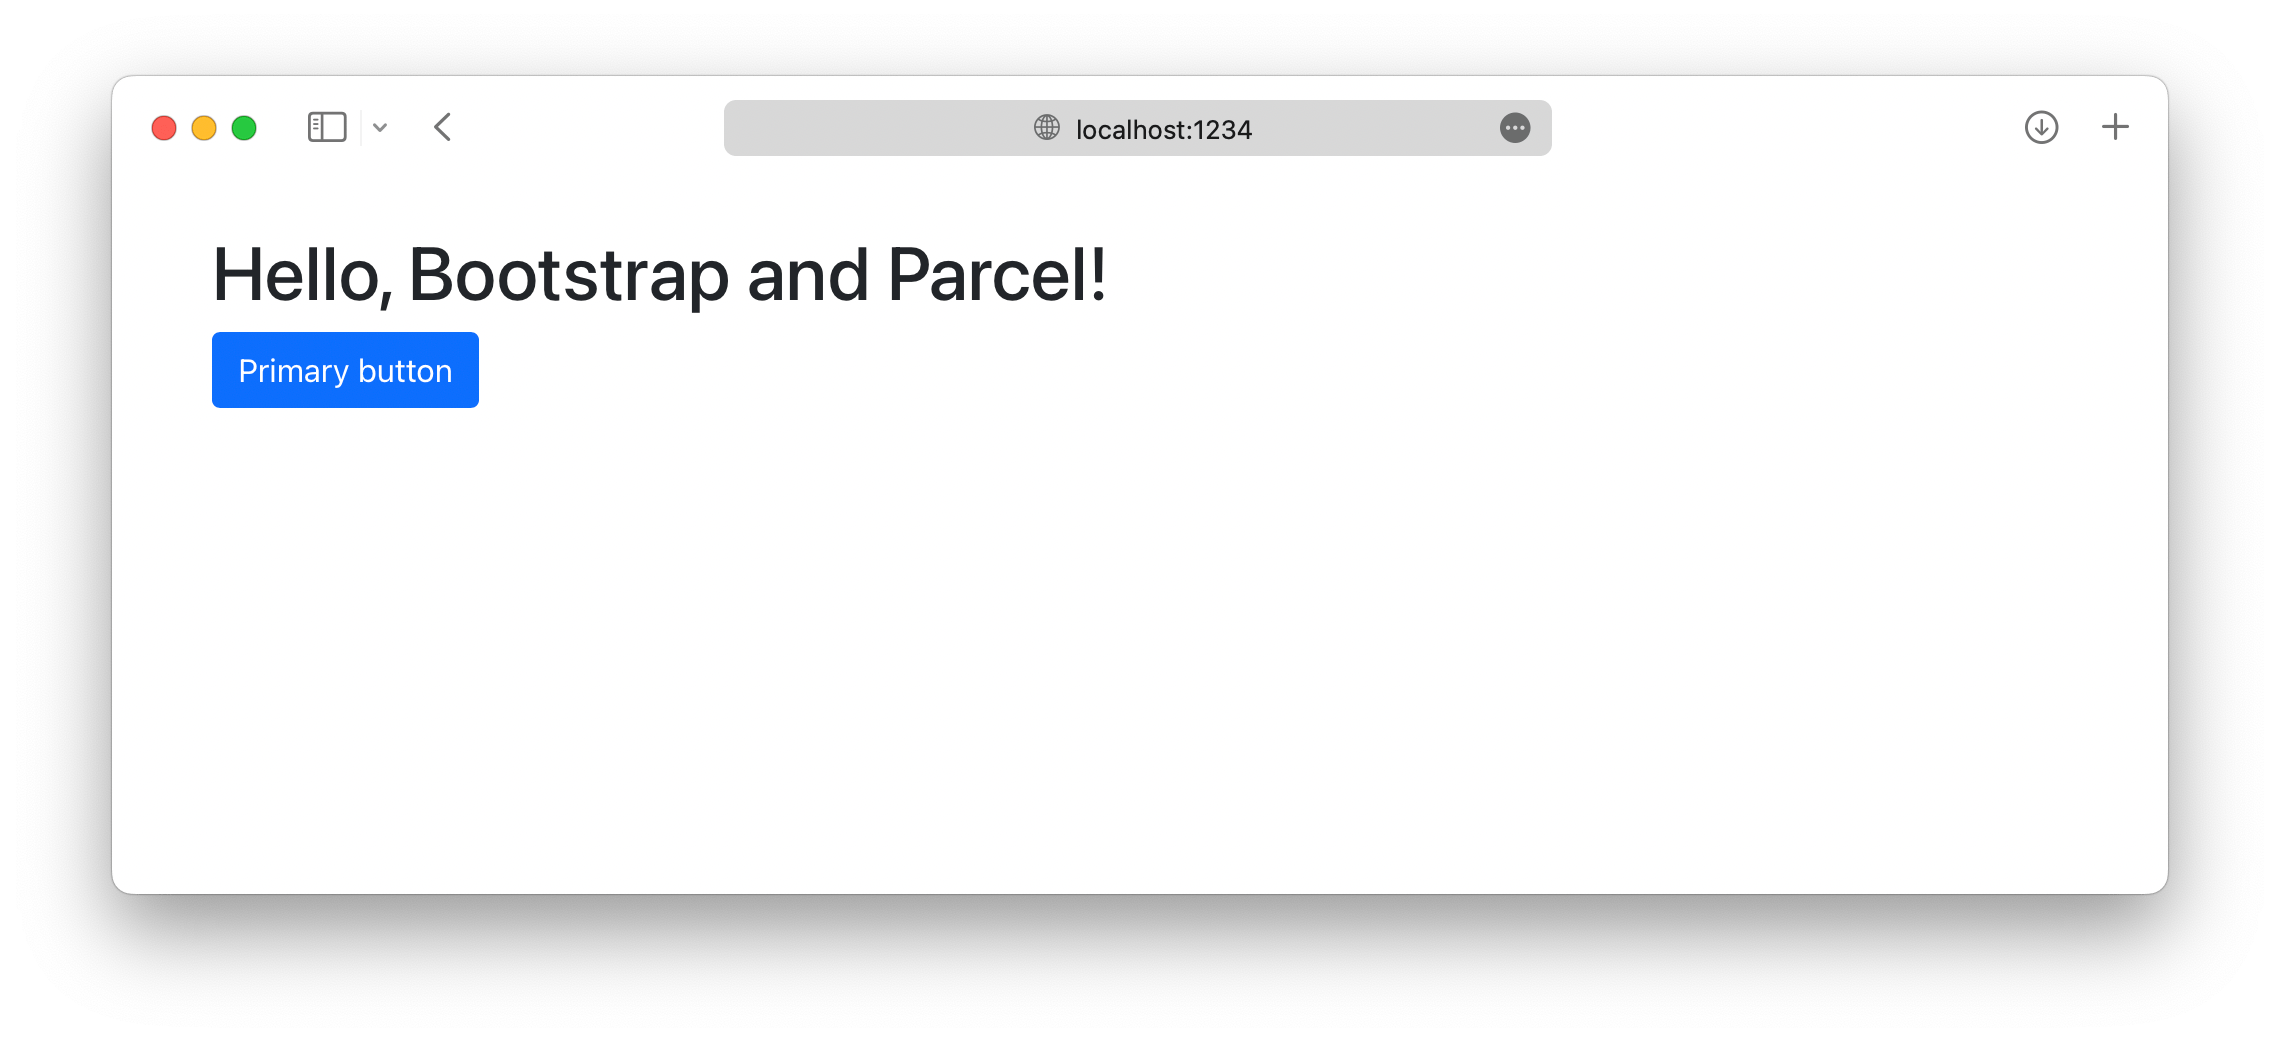
And you’re done! 🎉 With Bootstrap’s source Sass and JS fully loaded, your local development server should now look like this.

Now you can start adding any Bootstrap components you want to use. Be sure to check out the complete Parcel example project for how to include additional custom Sass and optimize your build by importing only the parts of Bootstrap’s CSS and JS that you need.
See something wrong or out of date here? Please open an issue on GitHub. Need help troubleshooting? Search or start a discussion on GitHub.